Session Settings
Session settings
Select User experience>User Journey>User Journey Setting in turn in the navigation bar to enter the Session settings page by default. The configuration items are described as follows:
-
Journey backtracking: After the control switch is turned on, SDK will start image acquisition for the user step and synthesize a video file through the back-end. The switch is turned off by default.
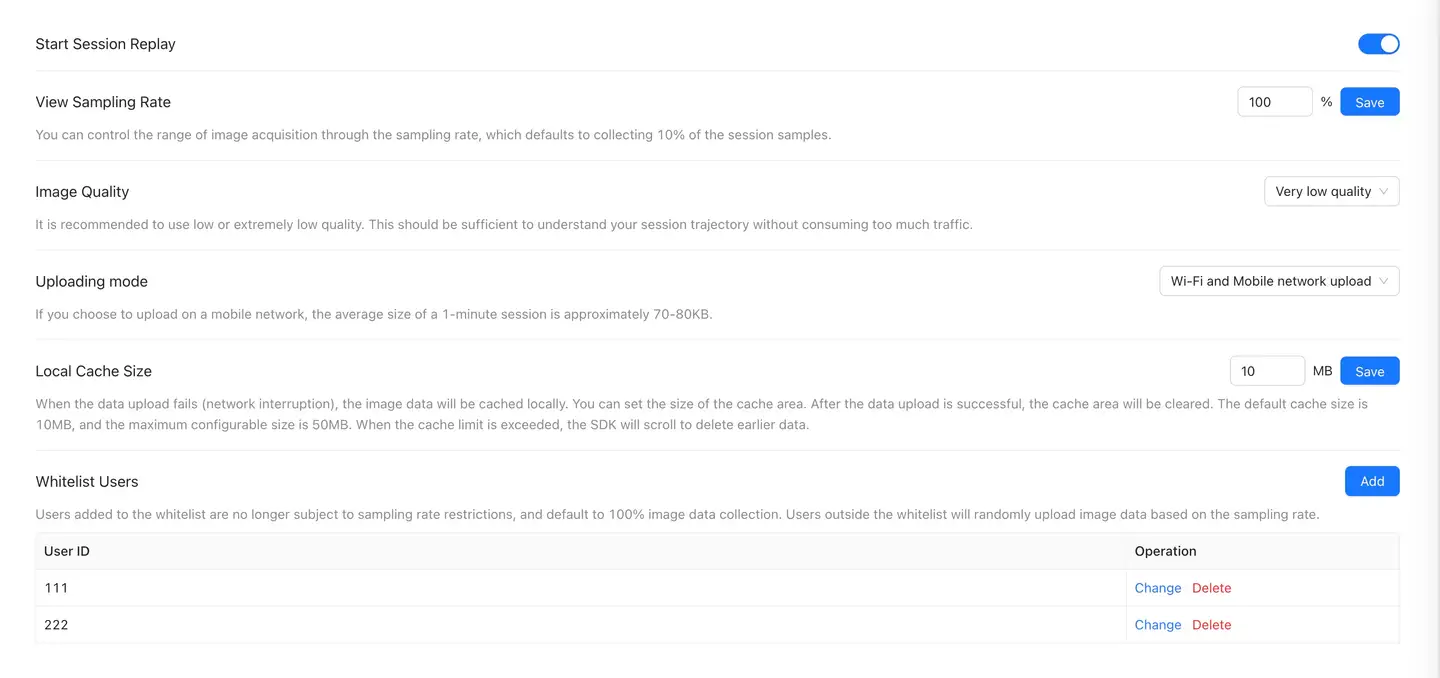
- Video sampling rate: Video capture consumes a certain amount of performance. You can control the range of video capture by the sampling rate. By default, 10% of the session samples are captured.
- Image quality: Video quality determines the size of the data upload, low or very low quality is recommended.
- Upload method: You can choose to pass WiFi or WiFi and Mobile Networks upload video. Low-quality video recording consumes an average of 70KB ~ 80KB of traffic per minute.
- Local cache size: When the data upload fails, the video data will be cached locally. You can set the size of the cache area through the platform. After the data is uploaded successfully, the cache area will be cleared. The default size is 10 MB. When the limit is exceeded, older data will be scrolled and deleted. In order to save storage space, the maximum cache size can be configured to 50 MB.
- Whitelist users: Users added to the whitelist are no longer limited by the sampling rate. By default, 100% of the video data is collected. Users outside the whitelist will upload video data randomly according to the sampling rate.
-
UI mask
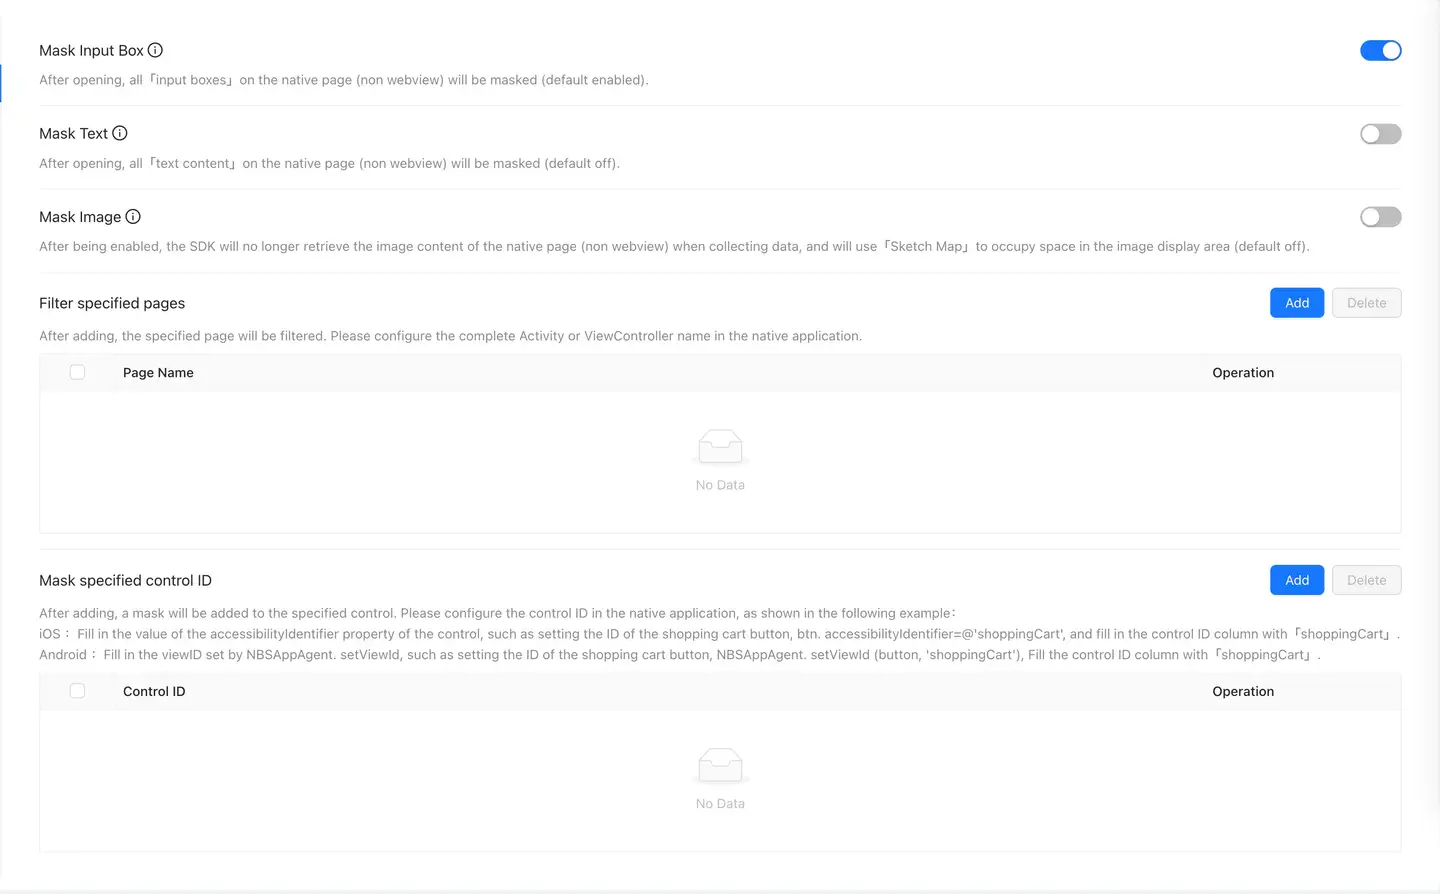
- Mask input box: When enabled, all "input boxes" on the native page (not webview) will be masked (enabled by default).
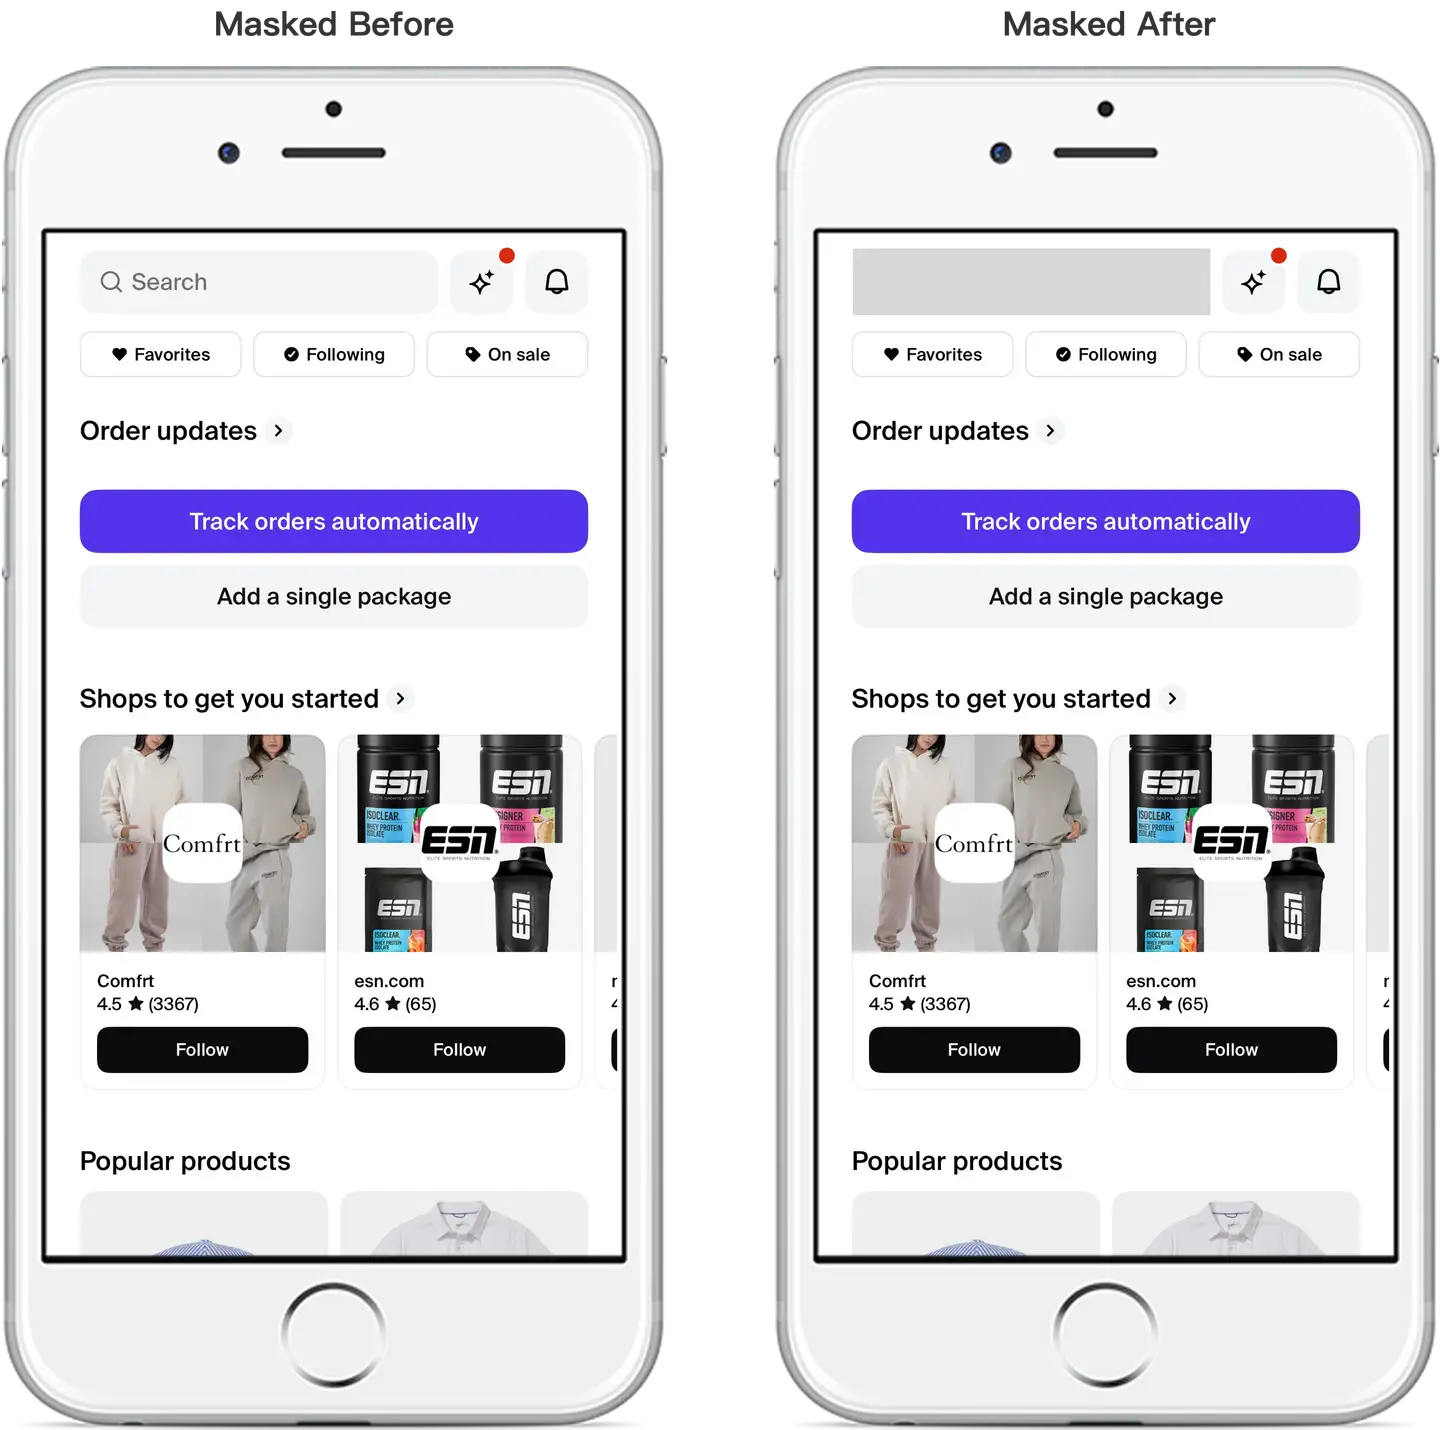
- Mask text: When enabled, all "text content" on the native page (not webview) will be masked (off by default).
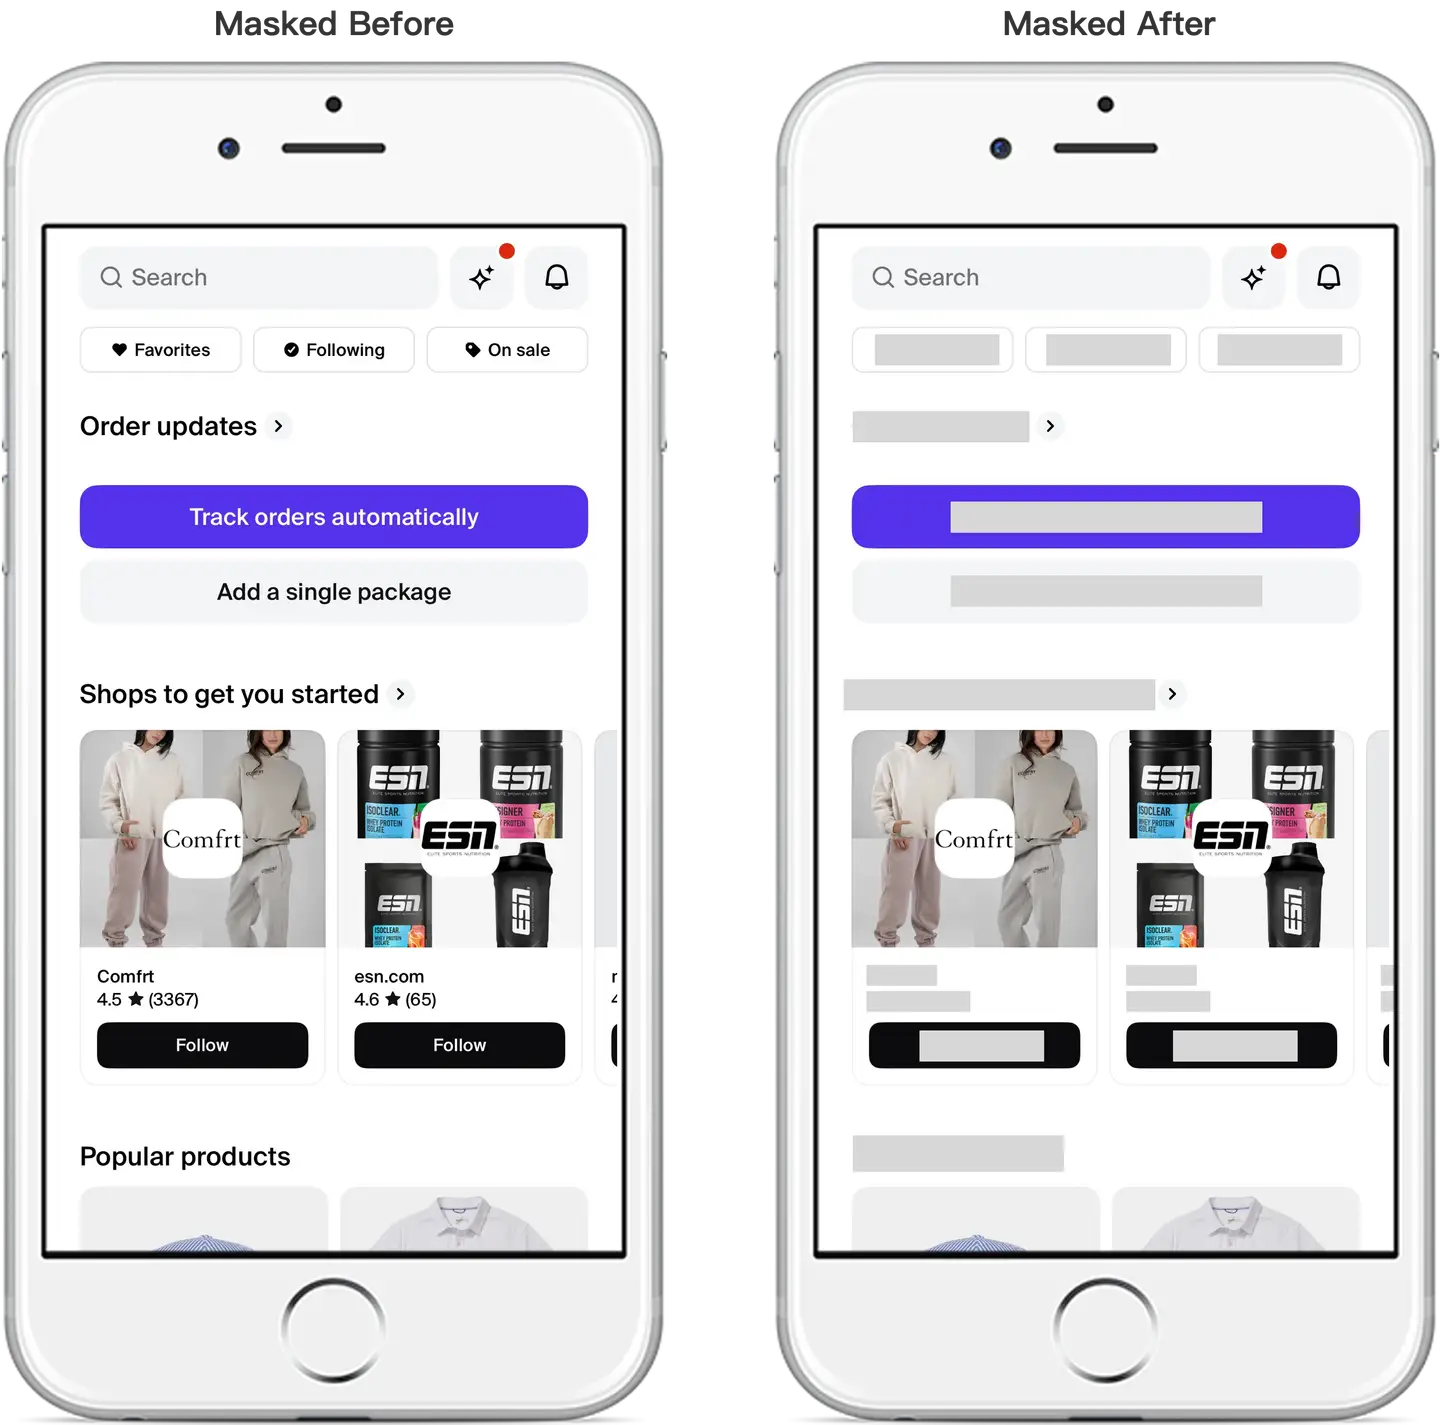
- Mask the image: After it is enabled, the SDK will no longer obtain the image content of the native page (non-webview) when collecting data, and use "Schematic Diagram" to occupy the image display area (off by default).
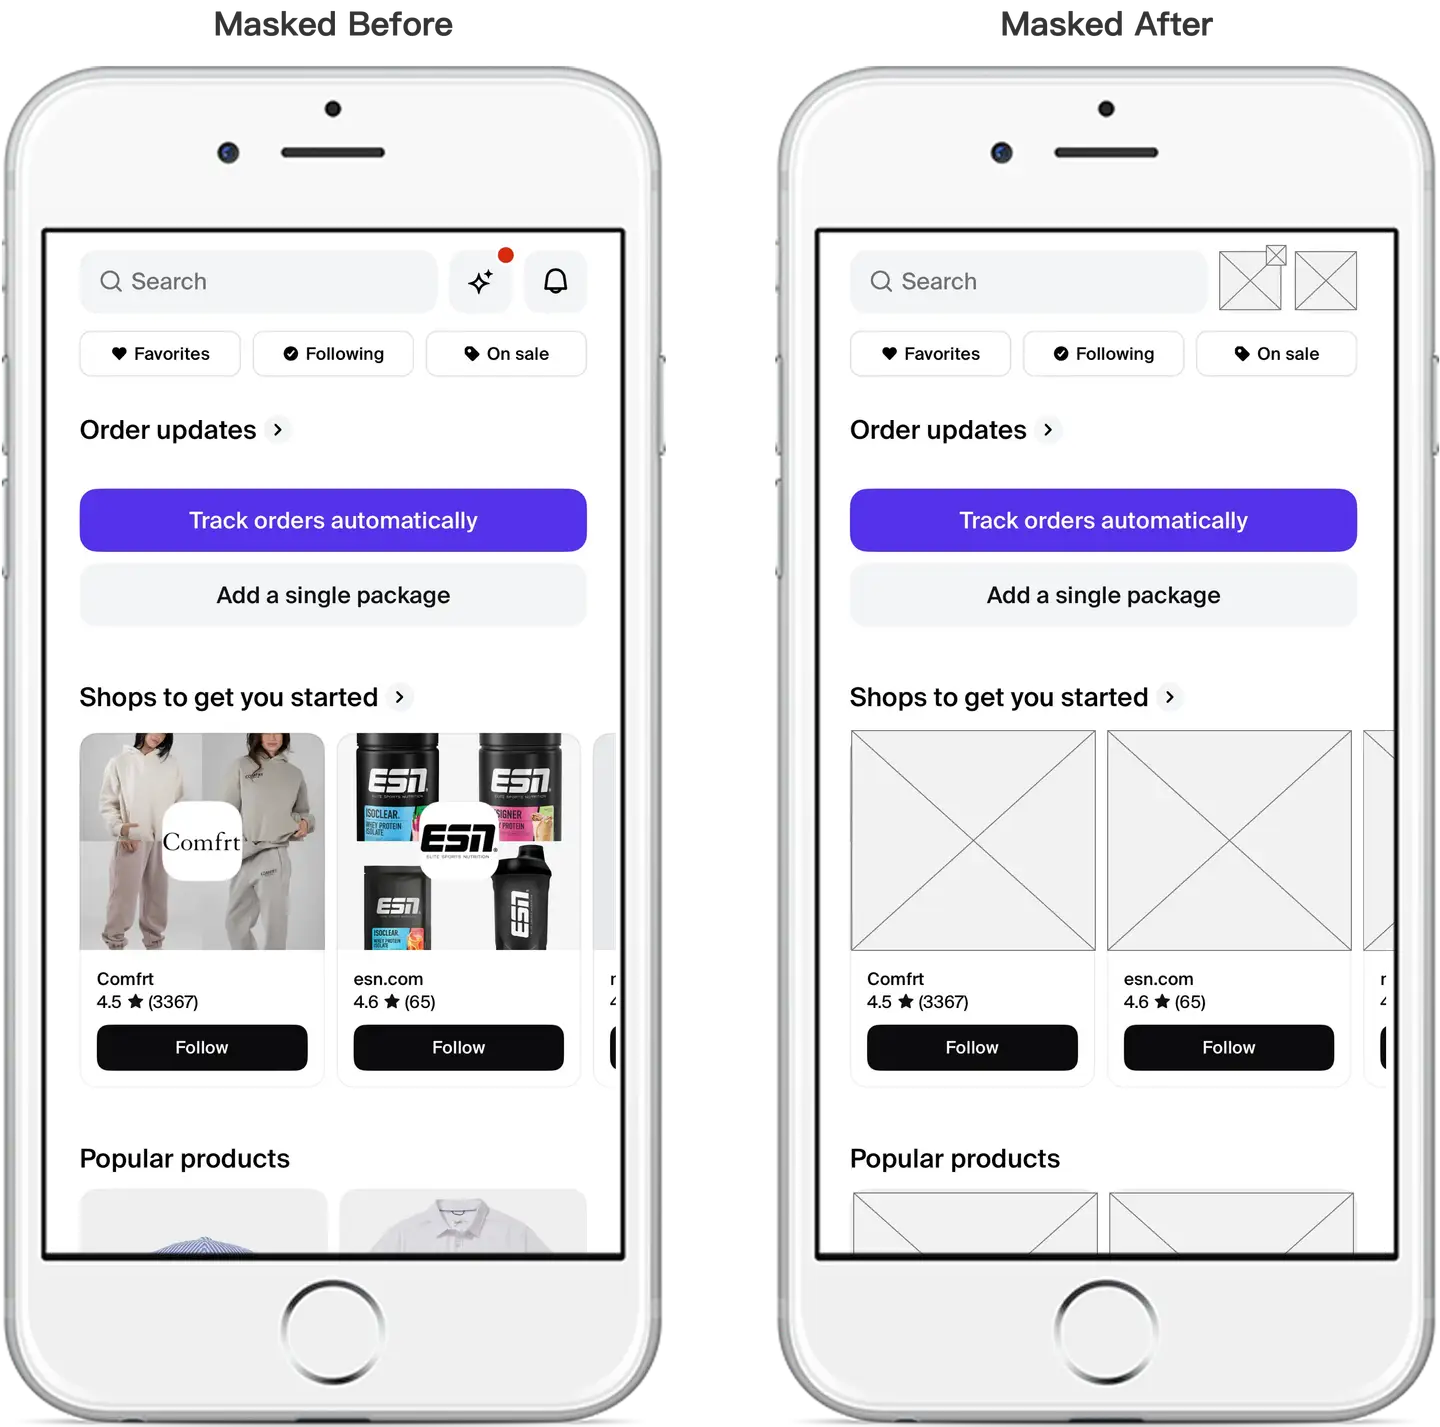
- Filter the specified page: The specified page will be filtered after it is added. Please configure the complete Activity or ViewController name in the native application.
- Mask Specified Control ID: a mask will be added to the specified control after it is added. Please configure the control ID in the native application, as shown in the following example:
- IOS: Fill in the value of the accessibilityIdentifier attribute of the control, for example: set the ID of the shopping cart button, btn. Accessibility Identifier = @ "shoppingCart", The control ID column is filled with "shoppingCart".
- Android: Fill in the viewID set by the NBSAppAgent. SetViewId, such as: set the ID of the shopping cart button, NBSAppAgent. SetViewId (button, "shopping Cart" "), The control ID column is filled with "shoppingCart".
-
Request acquisition

- Record network request: Display "network request" data in the session details after opening.
- It should be noted that different contacts handle request types differently. App displays request data of Http/Https type; Web displays request data of Xml HttpRequest/Fetch type; and applets display request data.
- Collect only interface requests: In order to avoid the problem of too many resource requests leading to complicated analysis content, only the "interface (mime-type is text or JSON)" request data is displayed in the session details after the control switch is turned on, and the request data of the resource type is no longer displayed.
- Record network request: Display "network request" data in the session details after opening.
-
Other configurations

- Brute force click: After it is turned on, it can identify whether the user frequently clicks the application in a short time. The switch is turned on by default.
- Full collection of interactive Trace data: By default, the platform only keeps the detailed data that exceeds the threshold setting. After it is enabled, it will collect the detailed data of all operations and page loading. This switch is disabled by default.